MAKING OF "CLOSE UP PORTRAITS"
In This "Making OF" article I wil try to explain the techniques that I used to create this image. I will focus mainly upon the textures/shaders part:
BASE MODELLING
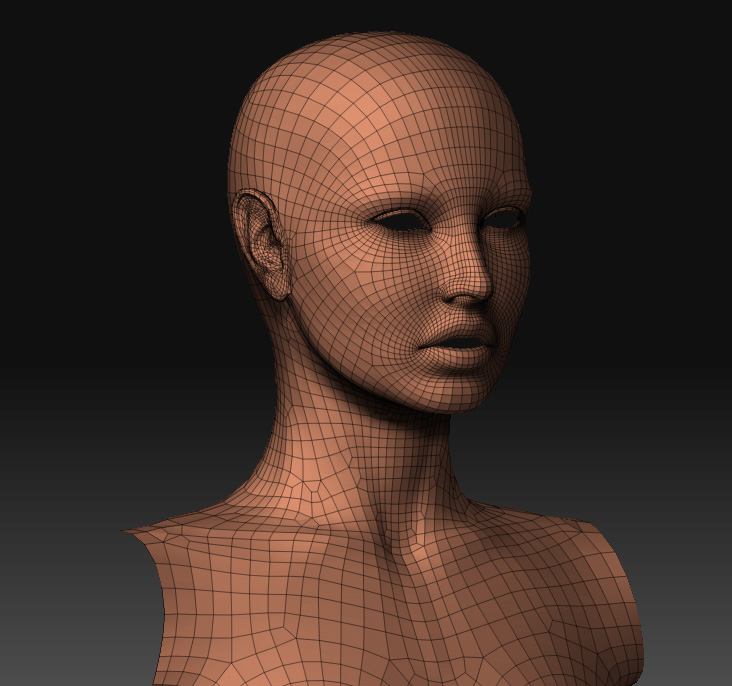
I reused the geometry of an old nurbs body that I made years ago. Converted to polygons in maya and deleted the faces that were not going to be visible. I took care that almost all polys were 4 sided for a better subdivision later.
Then in zbrush I adjusted the proportions, its easier using the move and standard brushes.
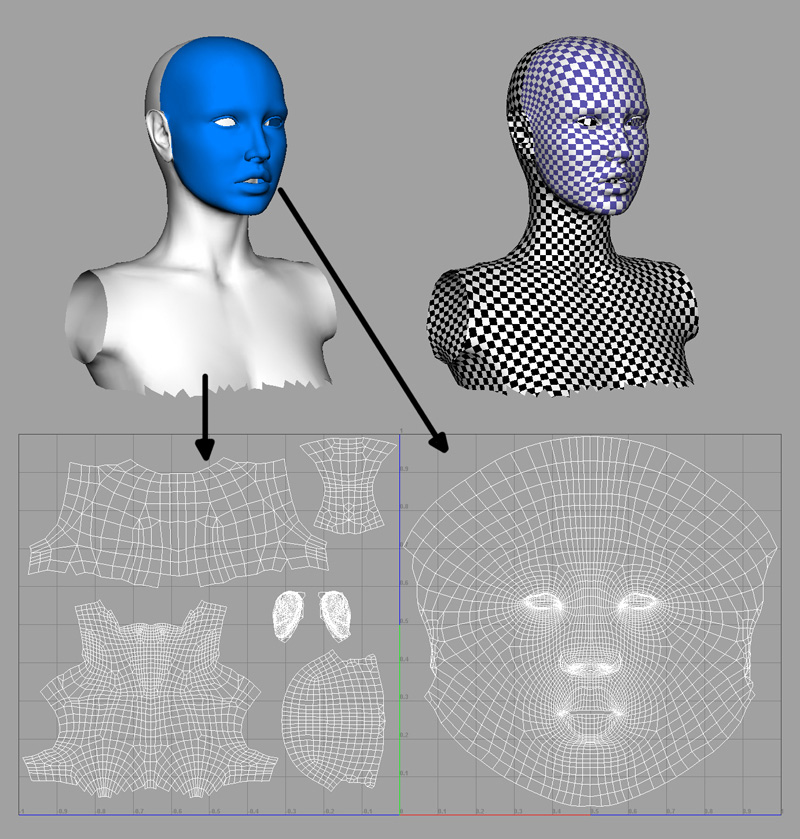
UV
I create the UVs in maya. This resolution is enough to create the Uvs. Making it later with more subdivisions would be more difficult.
I decided to create 2 different UV shells/textures for getting more texture resolution. One for only the face, and other for the rest of the head. I tried to place the seams in a hidden part: