MAKING OF "CLOSE UP PORTRAITS"
DETAILING/ZBRUSH
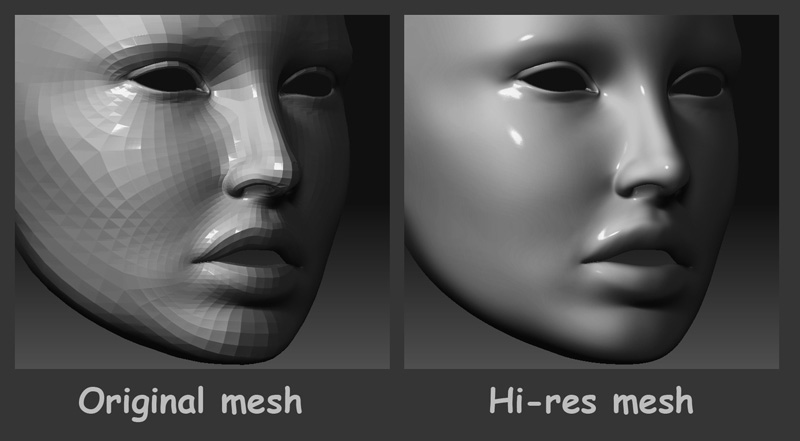
I already had the base geometry and the tetxure. I subdivided in zbrush and added details using the information of the texture.
I created a bw version of the color texture and used it as intensity masking. I created a first layer of detail:
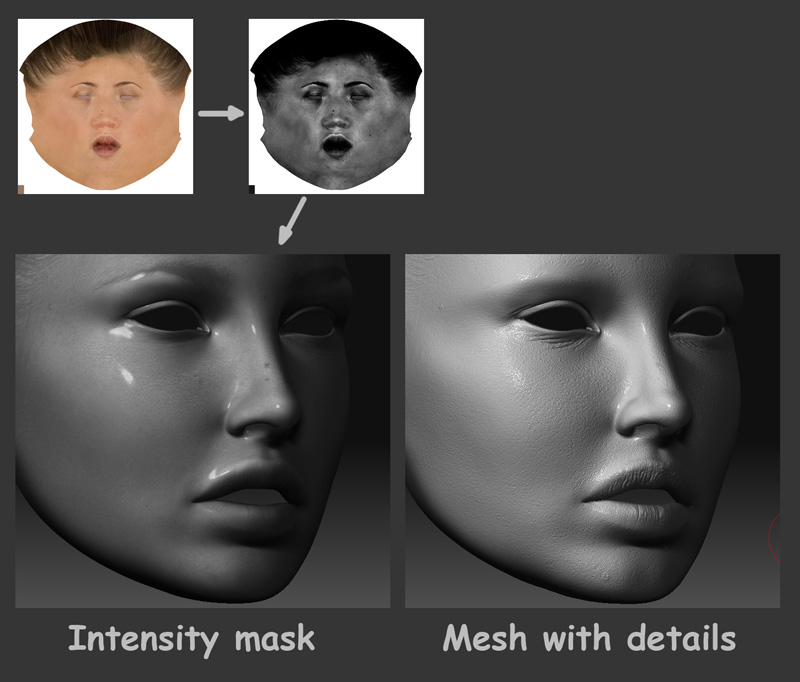
Then, without the masking I add some grains and bumps. I also add bumps with a brush with spray to give a less uniform skin, the orginal was too much smooth and “perfect”
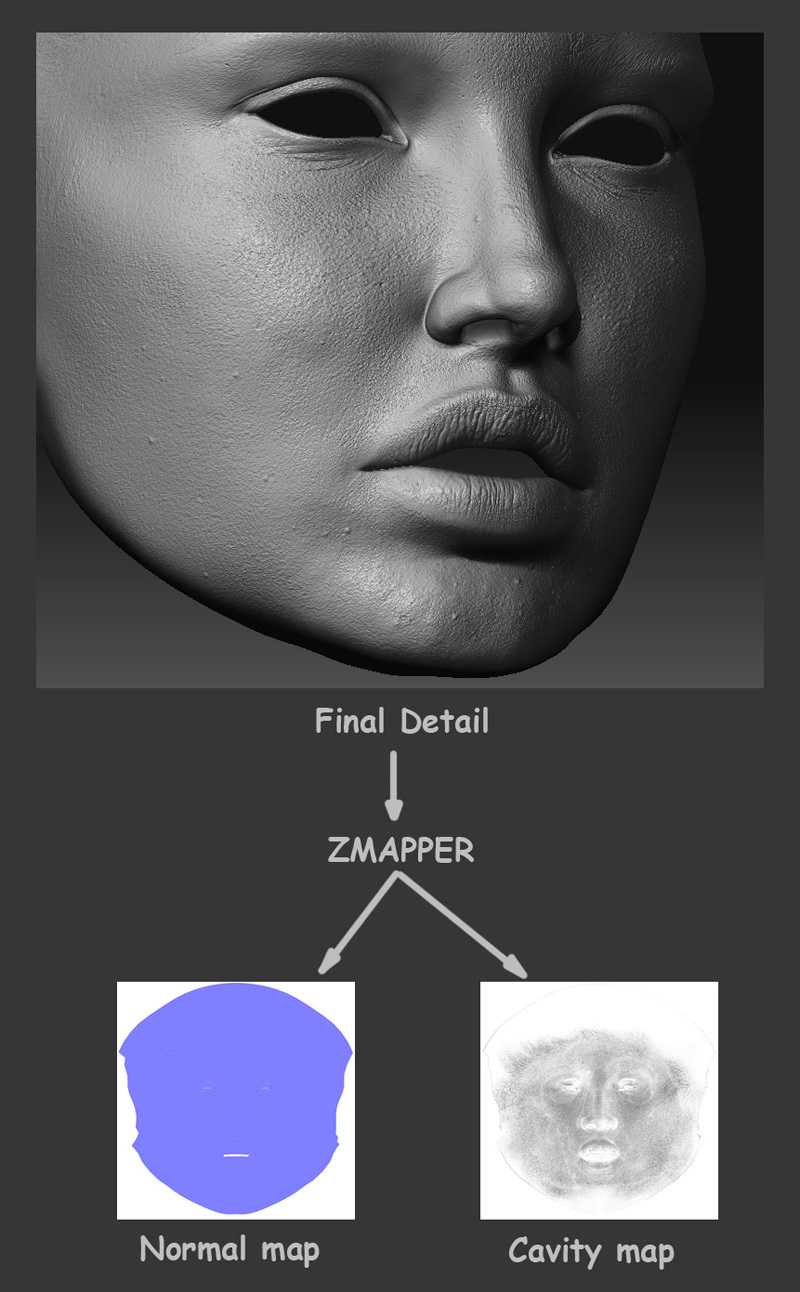
Once I had the final detail, I chose a level of subdivision to use in maya for the render, delete the lower subdivisions and calculate the normal and cavity maps for that level using Zmapper.
LIGHTNING
I wanted a soft and lateral lightning, it is called “low key” lightning. I think this kind of lightning gives great result for portraits. It also highlights the skin texture.
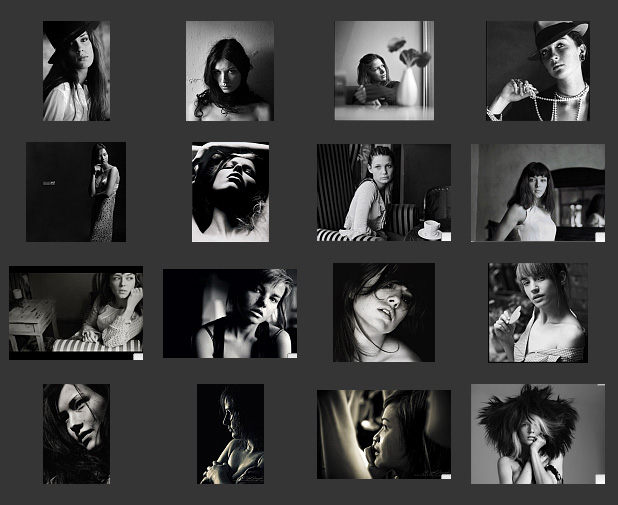
Here is a little sample of all the reference pictures/inspiration photos that I used:
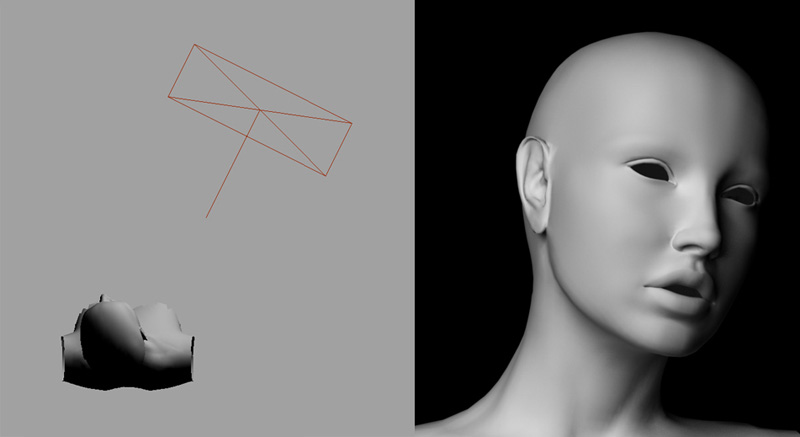
Before deciding the Lighting, I created a quick skeleton to create different poses. I made some render tests with a lambert and a geometry hair that would give me a first idea.
For each one I made different lightning set ups.
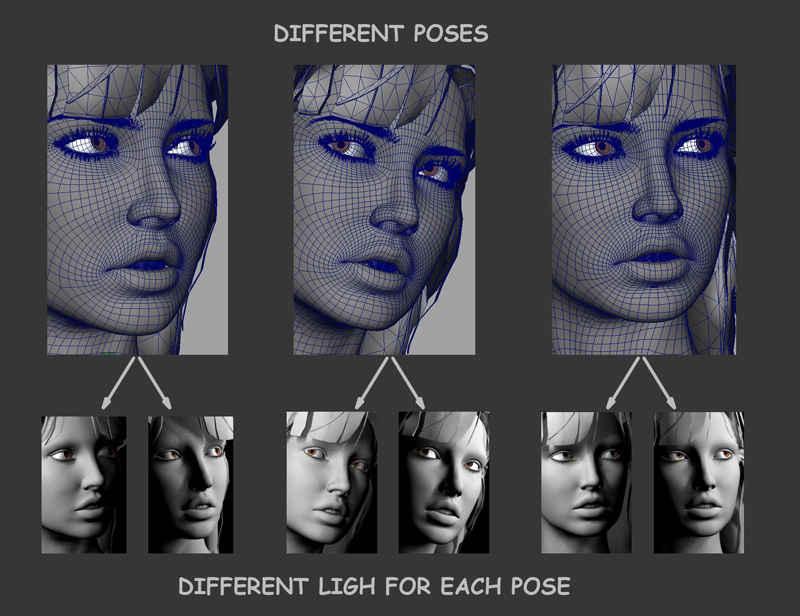
I wasn´t sure wich one was the best, so I chose several configurations and go ahead with those. I put each configuration in a different frame, so was easy to change from one to another.
For all the configurations, I used only one area Light that changes its position.